
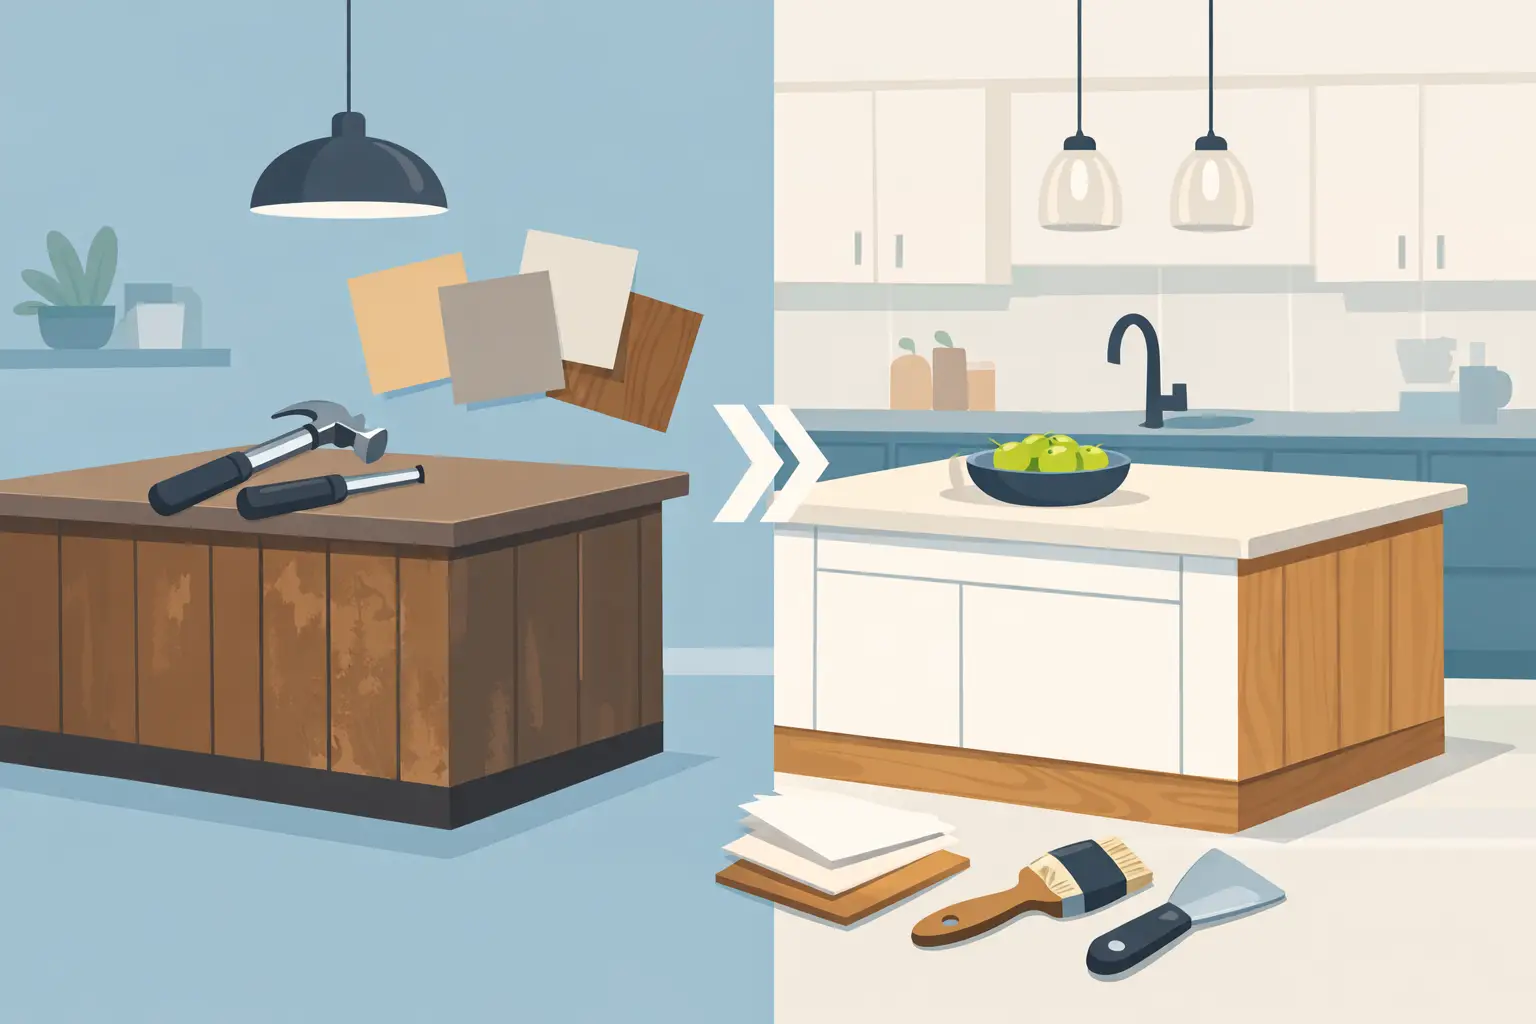
A kitchen island is often where the wear shows first. Chairs scrape the panels, feet scuff the base, and years of cooking, homework, and family gatherings leave their mark. If the island is solid but looks dated, learning how to reface kitchen island cabinetry can help you plan a major visual update without the cost and disruption of replacing the entire unit.
Refacing is not simply painting over old cabinets. A proper refacing project typically keeps sound cabinet boxes in place while updating visible surfaces with new doors, drawer fronts, panels, trim, and hardware. For many Barrie and Simcoe County homeowners, it is a practical way to make the island feel current while preserving a layout that already works.
Start by Deciding Whether Your Island Is a Good Candidate
The first question is not which door style you prefer. It is whether the island structure deserves to stay. Cabinet refacing works best when the cabinet boxes are level, securely fastened, and free from significant water damage, swelling, or structural deterioration.
Open the doors and drawers and look closely at the interior. Check that the boxes are not separating at the corners, the base is not soft from a past leak, and the countertop is properly supported. Minor issues, such as tired hinges or a loose drawer slide, can usually be corrected as part of an upgrade. Widespread damage is different. In that case, a new island may offer better value over the long term.
It also helps to consider function. If you like the size, location, and storage capacity of your island, refacing may be an excellent fit. If the island blocks traffic, lacks drawers, needs electrical changes, or no longer suits how your family uses the kitchen, a partial rebuild or a new custom island could be the smarter choice.
How to Reface Kitchen Island Cabinets Step by Step
A successful island refacing project begins with a clear plan. The visible parts need to work together, from the end panels to the toe kick, so the finished island looks intentional rather than pieced together.
1. Measure every visible surface
Measure the existing doors, drawer fronts, exposed ends, back panels, toe kicks, and decorative trim. Islands often have more finished surfaces than perimeter cabinets because they are visible from several sides. If your island includes an overhang for seating, measure the panel below the counter and note where stools may rub against it.
Take photographs from every angle before choosing materials. They make it easier to see which surfaces need matching panels and where a new detail, such as furniture-style legs or a deeper base moulding, may improve the design.
2. Choose a finish that suits the whole kitchen
The island can match the perimeter cabinets exactly, but it does not have to. A contrasting island is a popular option when homeowners want definition without changing the entire kitchen. For example, warm white perimeter cabinets may pair well with a navy, charcoal, soft green, or natural wood-look island.
The choice should still relate to the countertop, flooring, backsplash, and nearby cabinetry. A bold island colour can look beautiful, but it should feel at home in the space. If resale is a priority, a classic neutral or timeless wood tone is often the safest approach.
Door style matters as much as colour. Shaker doors suit many homes because they are clean and versatile. Raised-panel doors can complement more traditional spaces, while flat-panel doors offer a simpler, contemporary appearance. A showroom visit can be especially helpful here because colour and texture often look different under kitchen lighting than they do on a small sample.
3. Select replacement doors, drawer fronts, and panels
Refacing generally involves installing new doors and drawer fronts, then covering exposed cabinet frames and end panels in a coordinating material. The goal is to make the old cabinet structure disappear behind a consistent new finish.
Do not overlook the island back. In an open-concept kitchen, this is often the first surface guests see. Depending on the design, it may be finished with matching decorative panels, beadboard, applied moulding, or another detail that works with the rest of the room.
If you are changing door styles, make sure the drawer fronts and side panels follow the same design direction. Mixing a modern flat-panel drawer front with ornate traditional trim can make the island look confused rather than updated.
4. Plan the details before installation begins
Hardware, trim, and base treatment have a substantial effect on the final result. New handles or pulls can make an island feel more refined, while soft-close hinges and updated drawer slides improve everyday use.
Consider whether the island needs a revised toe kick, decorative feet, corbels, or end panels. These additions are not necessary in every kitchen, but they can help a basic cabinet island look more like a piece of built-in furniture. Keep in mind that detailed trim can collect dust and may not suit a busy household that prefers easy-clean surfaces.
5. Remove old components carefully
For a do-it-yourself project, doors, drawer fronts, hinges, and hardware should be removed with care. Label each item and protect nearby flooring, cabinets, and countertops. If the countertop is staying in place, take extra care around its edges. A chipped stone or laminate edge can turn a cosmetic project into a more expensive repair.
This is also the point where hidden problems may become visible. Water staining near a sink or dishwasher, loose cabinet bases, and uneven flooring should be addressed before new surfaces are installed. Refacing over a problem does not solve it.
6. Install and align the new surfaces
Cabinet doors and drawer fronts need careful alignment. Even quality materials can look poor if the spacing is uneven or a drawer sits proud of the cabinet face. Consistent reveals, straight hardware, and properly fitted panels are what give refaced cabinetry a finished, professional appearance.
This stage is one reason many homeowners choose professional installation. Island panels may require precise scribing around walls, flooring, countertop supports, or electrical outlets. Experienced installers can make these adjustments cleanly while protecting the rest of the kitchen.
Know What Refacing Can and Cannot Change
Refacing changes appearance exceptionally well, but it does not automatically change the island’s footprint or internal layout. You can often improve drawers, add pull-out storage, replace hardware, or modify certain cabinet components. However, moving plumbing, adding a sink, relocating an electrical outlet, or dramatically extending the island usually requires more involved construction.
The countertop is another decision point. If the existing countertop is in good condition and works with the new cabinet finish, keeping it can help control costs. If it is worn, too short for seating, or clashes with the new doors, replacing it at the same time may deliver a more cohesive result. The right choice depends on the condition of the materials and your renovation budget.
Painting is sometimes considered an alternative to refacing. It can be less expensive upfront, particularly for a small island, but it may not provide the same durability or complete change in door style. Painted cabinet surfaces also require careful preparation and can show wear in high-contact areas. Refacing is often the better investment when you want new doors, updated drawer fronts, and a longer-lasting furniture-quality finish.
When Professional Refacing Is Worth It
A small freestanding island may be manageable for an experienced homeowner. Built-in islands are more complicated. They may include electrical outlets, seating supports, dishwasher panels, finished backs, custom trim, and countertops that cannot be disturbed.
Professional refacing is worth considering when you want a coordinated result across the kitchen, need help selecting door styles and colours, or want to improve storage at the same time. It also reduces the risk of ordering mismatched components or discovering too late that a panel does not fit around an outlet or countertop overhang.
Barrie Kitchen Saver has helped local homeowners update kitchens for more than 35 years, with a process built around assessing what can be preserved and what should be improved. That guidance can be especially valuable for an island, where a few well-chosen details can change the character of the entire room.
Make the Island Work Harder After the Update
Once the exterior is refreshed, consider how the island can better serve your household. Deep drawers can make pots and pans easier to reach. Pull-out waste bins can reduce clutter. A dedicated drawer for lunch supplies, baking tools, or charging devices can make daily routines simpler.
The best island is not always the one with the most features. It is the one that supports how you cook, gather, and move through the kitchen. A thoughtful refacing project gives you the opportunity to keep what already works while giving the centre of your kitchen a look you will be proud to live with for years.